Why Does the Same Camo Outfit Photograph Differently in Flash vs Daylight?
Quick Answer: Short answer: flash and daylight aren’t just “brighter vs dimmer” — they’re different light sources with different color temperatures, and camo is unusually sensitive to that difference because it depends on subtle tonal contrast between colors that are already close to each other (olive, brown, tan, black). Daylight is soft and even across the color spectrum, so it shows camo’s tones the way they’re designed to look. Flash is a hard, narrow-spectrum burst that flattens shadow detail and shifts how warm or cool those tones read, which is why the same jacket can look rich and dimensional at a daytime photo and strangely flat or muddy in a flash-lit evening photo.
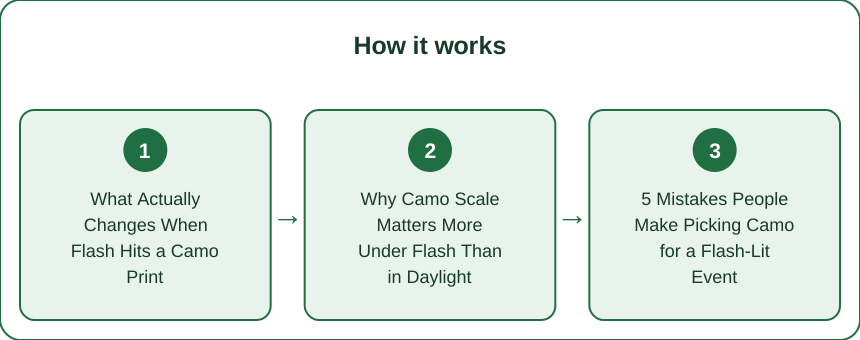
What Actually Changes When Flash Hits a Camo Print
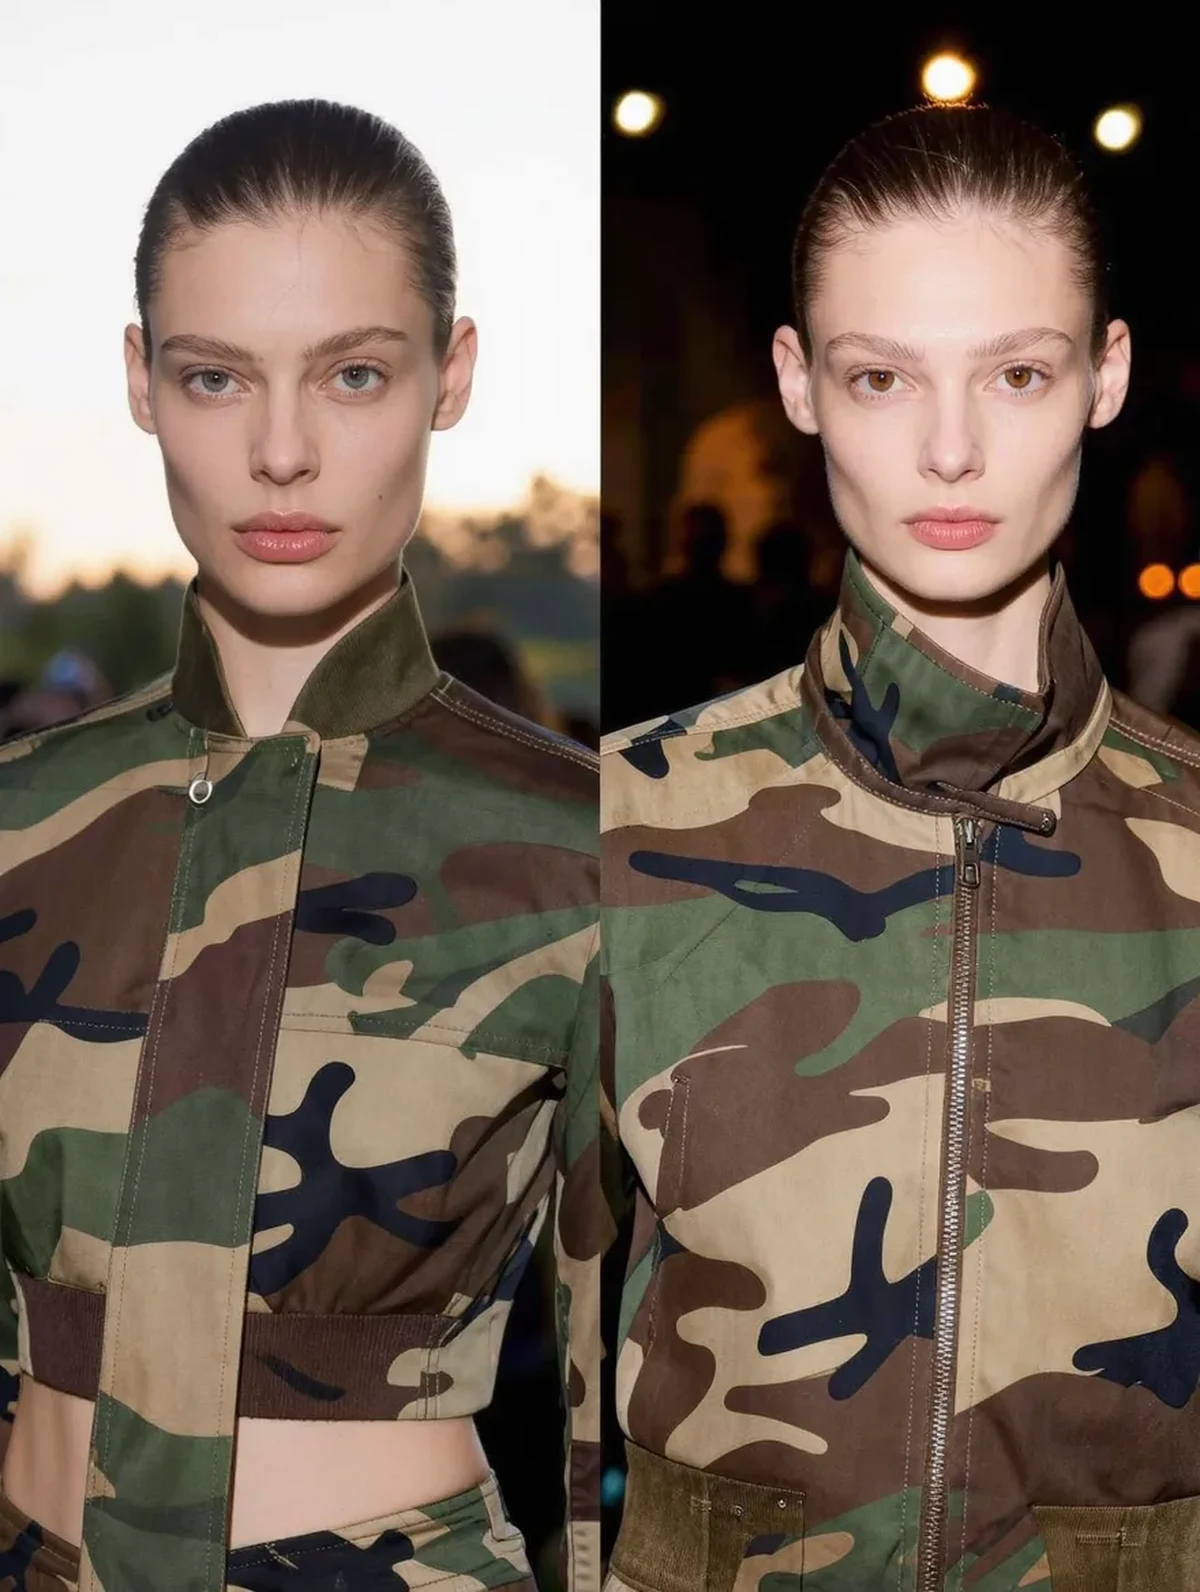
Daylight — even indirect daylight through a window — is a broad, diffuse light source. It wraps around fabric texture and lets your eye (and a camera sensor) pick up the gradual tonal shifts between camo’s colors: the slightly lighter edge of an olive blotch, the soft transition into a tan patch. That gradual shading is a big part of what makes camo look three-dimensional instead of flat.
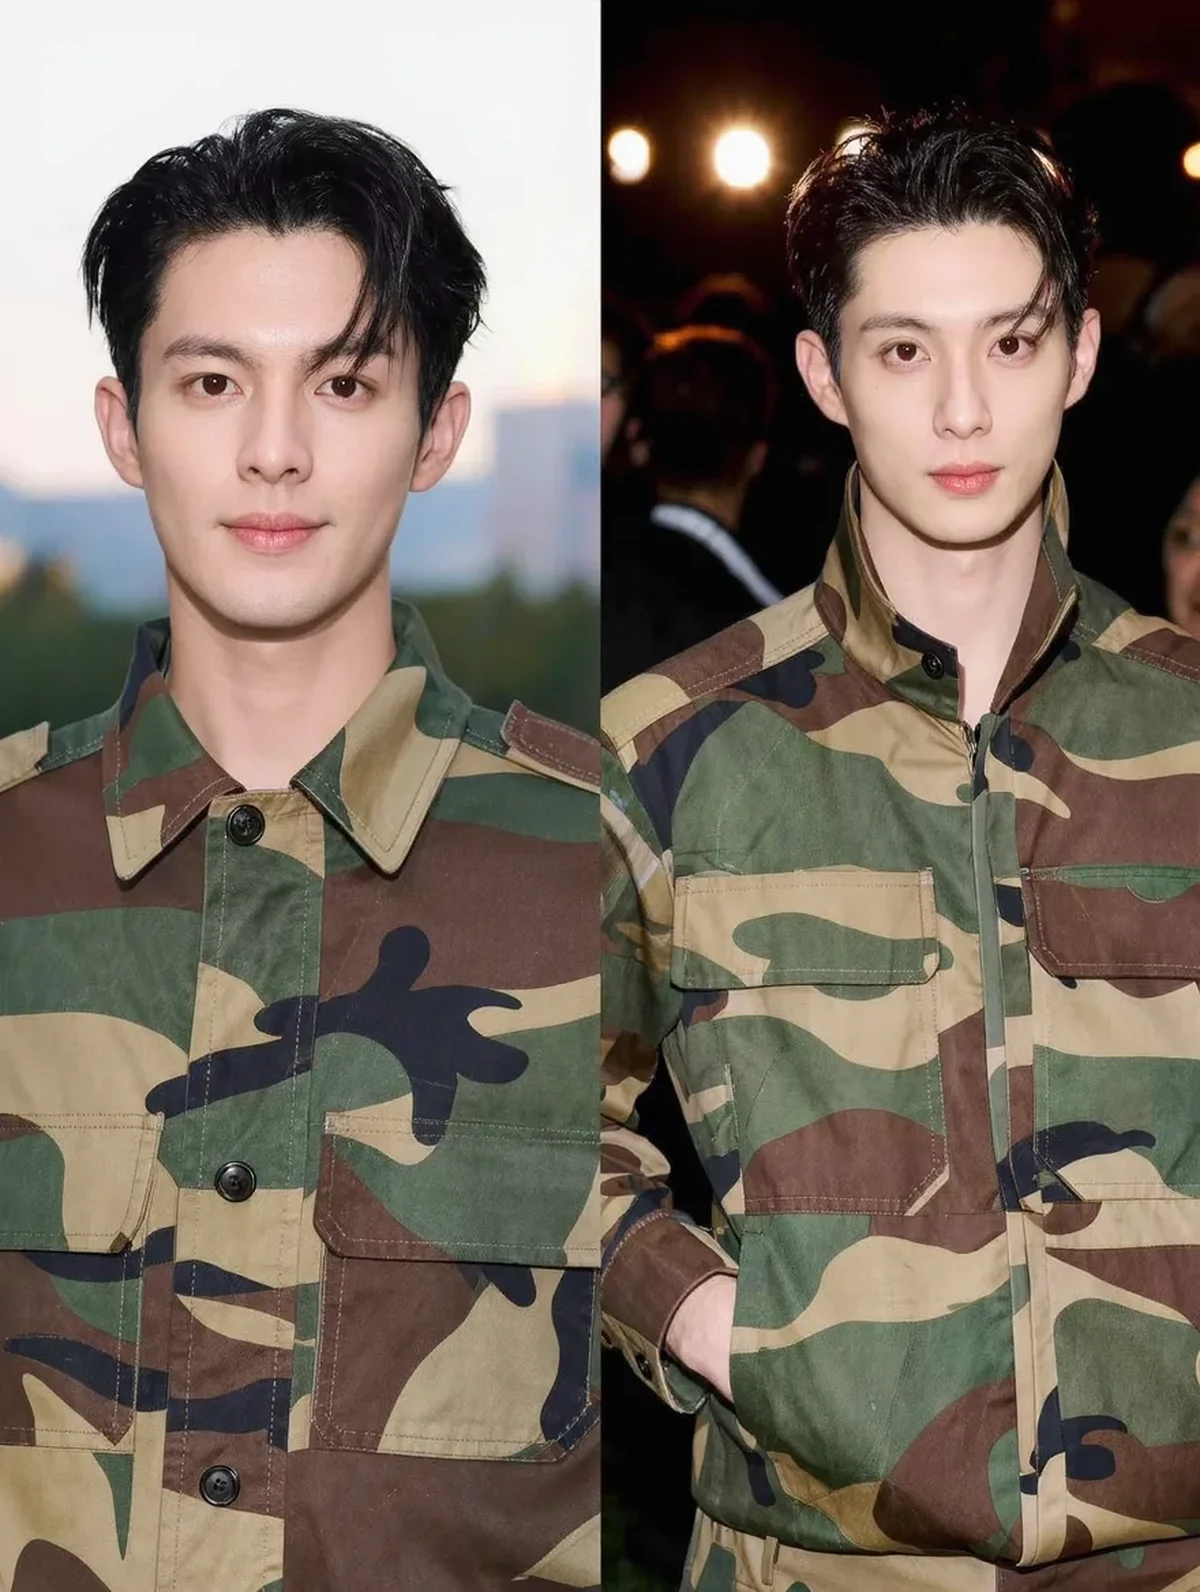
On-camera flash is the opposite: a small, direct, high-intensity point source aimed straight at the subject. It hits the highest points of the fabric hardest and throws everything else into faster falloff, which compresses those gradual camo transitions into more abrupt light-and-dark blocks. The print doesn’t change, but the light is no longer showing you the transitions — it’s showing you a harsher, more binary version of the same pattern. This is the same reason flash photography flattens skin texture and makes fine print details on any fabric look more graphic and less textured than they do in person.
Color temperature compounds this. Daylight sits around 5,500–6,500K depending on time of day, which is a relatively neutral, slightly cool white that renders earth tones like olive and brown close to how they actually look. Most built-in and on-camera flash units run closer to 5,500–6,000K but with a much narrower spectral output, meaning they render fewer intermediate shades accurately — camo’s browns can shift slightly orange, and its olives can shift slightly gray-green, under flash. It’s a subtle shift per photo, but it’s consistent, which is why people notice their camo “looks different” in every event photo compared to how it looked getting dressed at home in daylight.
Why Camo Scale Matters More Under Flash Than in Daylight
Large-scale camo (bigger blotches, fewer repeats) tends to hold up better under flash because its bigger shapes still register as distinct light and dark areas even after flash compresses the tonal transitions — there’s enough size to each blotch that flattening doesn’t erase it. Small-scale, tight-repeat camo is riskier under flash: the fine detail that reads as rich texture in daylight can collapse into a flat, almost solid-looking blur once flash removes the gradual shading between adjacent small shapes, sometimes photographing as a muddy khaki instead of a print at all.
This is the opposite of the daylight and general-photography guidance, where small-scale camo tends to read as more refined and less busy. Flash-lit environments flip that calculus because they strip out exactly the gradual tonal information that made the small scale work.
Higher-contrast camo palettes (true black paired with tan or white, rather than olive-on-brown) also photograph more reliably under flash, since flash’s harsh light amplifies whatever contrast is already built into the print rather than needing to create it. A low-contrast, all-earth-tone camo that looks sophisticated in daylight can look washed out and directionless in flash-heavy event photos, simply because there wasn’t enough built-in contrast for the flash to work with.
5 Mistakes People Make Picking Camo for a Flash-Lit Event
Mistake 1: Choosing the print under daylight or store lighting only. Store fitting rooms almost always use soft, diffuse, warm lighting that flatters every camo scale and tone equally — it tells you nothing about how the piece will look under a phone flash or a venue’s on-camera flash later that night. If event photos matter, check the piece in a quick flash test photo before the event, not just in the mirror.
Mistake 2: Defaulting to the most detailed, small-scale print for a “refined” look. As covered above, this is exactly the scale most likely to flatten into a muddy blur under flash. Save fine-scale camo for daylight-heavy occasions.
Mistake 3: Assuming darker camo photographs “safer.” Very dark, low-contrast camo (navy-on-black, deep olive-on-black) can lose almost all print definition under flash and photograph as a plain dark blob, which defeats the purpose of wearing a print at all if the goal was a statement piece.
Mistake 4: Not accounting for flash color shift when picking accessories or makeup to match. If a brown-based camo is going to read slightly orange under flash, coordinating jewelry or a lip color to the print’s true daylight tone can end up clashing once the flash shift happens. Coordinate to the flash-shifted version if the event is indoor and evening.
Mistake 5: Standing too close to the flash source. Even a flattering, well-matched camo piece will overexpose and flatten at close range to a direct flash. Standing slightly further back, or angling to catch bounce light off a wall or ceiling rather than direct flash, preserves far more of the print’s tonal detail than the print choice alone can fix.
How to Choose the Right Camo If You Know Flash Photos Are Coming
If an event is booked — an evening dinner, a gallery opening, anything with a photographer or heavy phone-flash use — the safest picks are mid-to-large scale camo with genuine contrast between at least two of its colors, meaning a true light tone (tan, cream, or gray) sitting against a true dark tone (black or deep brown), rather than a print built entirely from adjacent mid-tones like olive-on-khaki-on-brown. That contrast gives the flash something to preserve instead of something to flatten out.
Digital and pixelated camo styles, which are built from small uniform squares rather than organic blotches, tend to photograph more predictably under flash than traditional woodland camo, since the geometric repetition holds its shape at a distance even when fine tonal gradients are lost — worth knowing if there’s a choice between styles for the same event.
If the piece is a layering item rather than the full outfit — a jacket over a solid top, for instance — the flash-flattening effect matters less, since the print isn’t carrying the whole visual weight of the photo. For head-to-toe camo, or a single statement piece meant to read clearly in photos, prioritizing contrast and mid-to-large scale over fine detail is the more reliable choice once flash is part of the lighting plan.
TL;DR:
- Camo photographs differently under flash than daylight because flash is a harder, narrower-spectrum light that compresses the gradual tonal transitions camo relies on for depth, while also shifting browns slightly warmer and olives slightly cooler.
- Small-scale, low-contrast camo is most at risk of flattening into a muddy blur under flash.
- Mid-to-large scale camo with genuine light-to-dark contrast holds up best under flash.
- Test under a flash photo before an event rather than judging only in daylight or store lighting, and stand back from direct flash when possible to preserve print detail.
Know the light before you pick the print — the same camo jacket that glows in daylight needs a different scale and contrast to hold its own under a flash bulb.
Keep Reading
This article is for general informational and styling purposes only. Fit, sizing, and product availability may vary — check current details before purchasing.